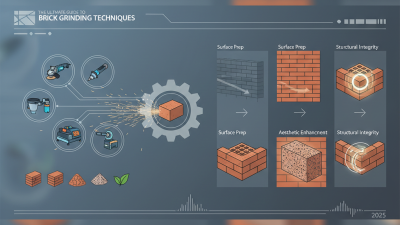
How to Grind Brick Effectively for Your DIY Projects?
When embarking on a DIY project, effective brick grinding can make all the difference. Brick Grinding transforms rough materials into fine shapes for creative use. This process requires the right tools, preparation, and understanding of the material.
It’s essential to choose the right grinding method. Different bricks require different approaches. Some might break easily, while others are tough. Painters, builders, and hobbyists often struggle with uneven surfaces on bricks. These imperfections can hinder quality work. Learning from past mistakes is crucial.
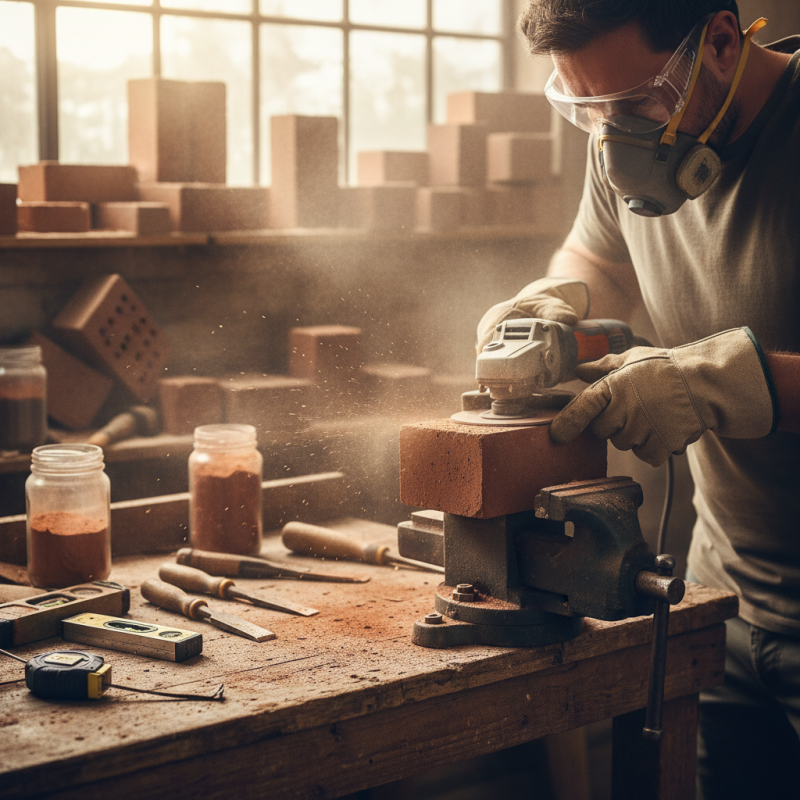
Safety precautions matter too. Protect yourself from dust and debris when grinding bricks. Wear safety goggles and masks. Many overlook these basic steps. As a DIY enthusiast, it’s vital to refine your technique. Experience enhances skill, but remember, patience is key. Each project teaches valuable lessons about brick grinding.
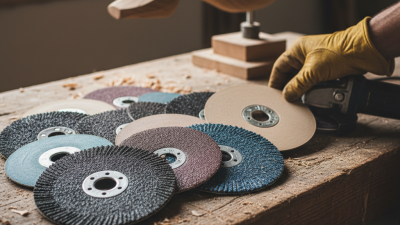
Choosing the Right Tools for Grinding Brick in DIY Projects
Grinding brick for DIY projects requires the right tools. Choosing the best tools can make a significant difference. Start with a safety mask and goggles. These protect against dust and debris. Brick dust can be harmful if inhaled. Always prioritize safety when working.
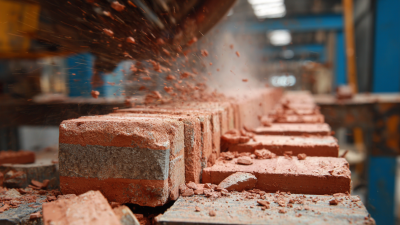
A diamond blade grinder is effective for cutting and shaping bricks. This tool can handle tough materials.
Using a rotary tool with a diamond bit is another option. It's versatile and allows for detailed work.
For large projects, consider renting or borrowing heavier equipment. You might struggle with smaller, manual tools. They can be exhausting for extended use.
You may face challenges while grinding. The process often results in uneven edges. Experimenting with different speeds or techniques might help. It's vital to practice on scrap pieces first. Achieving a flawless finish takes time. A little patience goes a long way in DIY projects.
Preparing the Brick Surface for Effective Grinding
Preparing the brick surface for effective grinding is essential for any DIY project. Start by cleaning the brick thoroughly. Use a wire brush to remove dirt and dust. This step is crucial, as any residue can affect the grinding process. Make sure the brick is completely dry before proceeding. Wet surfaces can cause uneven grinding.
Next, inspect the brick for any cracks or damage. If you find any, repair these areas before grinding. Use a suitable filler and allow it to cure fully. This will help achieve a smoother finish. Mark the areas you want to grind. Having a clear plan can prevent mistakes during the process.
Lastly, consider the right tools. An angle grinder works well for most projects. Choose a diamond grinding wheel for effective material removal. However, be careful. Over-grinding can lead to uneven surfaces. Always wear safety gear, including goggles and gloves. Effective preparation makes a difference in the quality of your work.
How to Grind Brick Effectively for Your DIY Projects? - Preparing the Brick Surface for Effective Grinding
| Step |
Description |
Tools Needed |
Safety Tips |
| 1 |
Clean the brick surface to remove any dirt or debris. |
Water, scrub brush |
Wear gloves and eye protection. |
| 2 |
Choose the right grinding tool based on the job. |
Angle grinder, masonry bit |
Use dust mask and hearing protection. |
| 3 |
Mark the areas to grind to ensure precision. |
Chalk or marker |
Keep work area clear of obstacles. |
| 4 |
Start grinding by applying gentle pressure. |
Angle grinder |
Avoid direct contact with skin. |
| 5 |
Clean the area and inspect the results. |
Vacuum or brush |
Check for sharp edges after grinding. |
Step-by-Step Guide to Grinding Brick Safely
Grinding brick can seem daunting. However, with the right approach, it can be manageable.
Start by wearing proper safety gear. This includes goggles, a mask, and gloves. Protecting yourself is crucial because brick dust can be harmful.
Set up your workspace. Choose a well-ventilated area. Use a sturdy table to minimize movement.
Secure the brick using clamps. This prevents it from slipping during grinding.
Select a suitable grinding tool. Make sure it’s designed for masonry work.
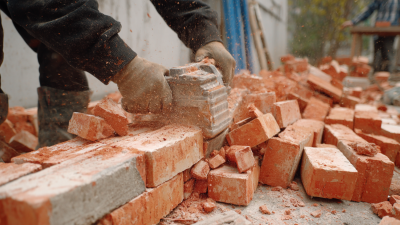
As you grind, apply even pressure. Don’t rush the process; it can lead to uneven surfaces. Keep an eye on the brick’s condition.
If cracks appear, take a break. Reflect on your technique to improve next time. Remember, mistakes can be learning opportunities.
They are part of the DIY journey.
Techniques for Achieving Smooth Brick Edges
When grinding brick, achieving smooth edges is crucial. Research shows that improper grinding techniques can lead to sharp, uneven surfaces. These imperfections not only affect the aesthetic but can also weaken the structural integrity of your project. A study by the American Masonry Institute asserts that 30% of DIY projects fail due to poor material preparation, highlighting the importance of effective grinding methods.
To get smooth edges, start with a diamond blade. It offers precision and durability, significantly reducing the chance of chipping. Angle grinders are popular tools for this task, allowing for controlled movements. It's essential to maintain consistent pressure. Too much force can lead to cracks; too little may result in rough edges. Many DIY enthusiasts overlook this balance, which often requires practice to master.
Focus on the grinding speed as well. A slower speed can prevent overheating, which might damage the brick. Remember, patience pays off. The goal is to achieve a flawless finish. Dust control is another factor. Ensure proper ventilation and use a mask. Surprisingly, many people neglect safety measures, putting themselves at risk. Smooth brick edges require time and attention, but the results can significantly enhance your project's overall quality.
Brick Grinding Techniques Effectiveness
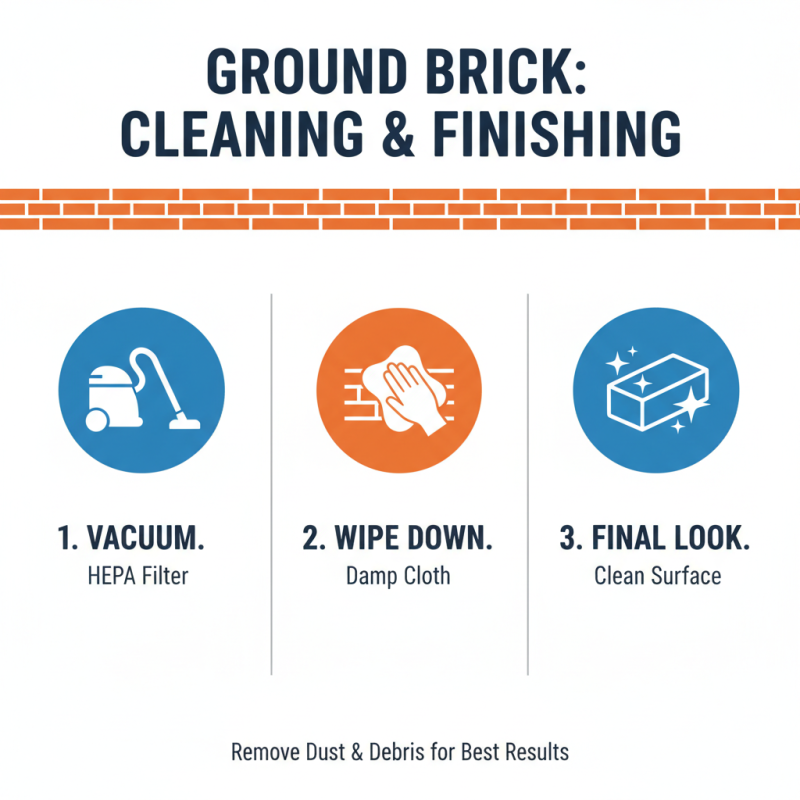
Cleaning and Finishing After Grinding Brick
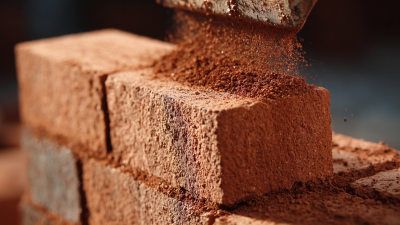
After grinding brick, the surface often requires careful cleaning and finishing. Begin by removing any dust and debris. Use a vacuum with a HEPA filter to ensure all particles are captured. Wipe down the brick with a damp cloth to eliminate any residual dust that the vacuum might miss. This step is crucial, as leftover particles can affect the final appearance.
For finishing, consider the brick's intended use. A simple sealant can provide protection. Apply it evenly using a brush. Avoid over-brushing to prevent streaks. You might notice uneven patches on the brick after sealing. Don’t worry. This is common, and it’s an opportunity to reflect on your technique. If needed, sand the uneven areas lightly before reapplying the sealant.
When the sealant dries, check the surface. It should feel smooth and look uniform. If some areas still appear rough, this might require additional grinding. Many DIY enthusiasts face this challenge. Embrace it as part of the learning process. It’s all about improving your skills and achieving the desired finish for your projects.