FREE SHIPPING ON ALL BUSHNELL PRODUCTS

Leave Your Message

Top 10 Drywall Sanding Pads for Smooth Finishes

Smooth drywall rarely happens by accident. It comes from steady pressure, suitable grit, and a sanding pad that fits the task. Drywall Sanding Pads help level joint compound, soften ridges, and prepare walls for primer. The wrong pad can leave scratches or polish a patch unevenly. Small marks show under bright light.

Choosing one is not just about grit. Pad shape affects access around corners, ceilings, and narrow seams. Backing and attachment style can influence control during long sanding sessions. Some pads work with hand blocks, while others suit pole sanders. Check compatibility before buying, and follow the product instructions.

This guide compares ten options for different jobs and budgets. It looks at practical details such as surface coverage, handling, durability, and dust-control compatibility where stated by the manufacturer. These features can help narrow the choices, but they do not guarantee a perfect finish. Dust matters. So does technique. Even a quality pad can clog, wear unevenly, or feel awkward in the hand. The best choice depends on the compound, work area, and user experience. A small difference in pressure can change the result.

Use the list as a starting point, not a promise. Test a pad on a less visible area when possible, and inspect the wall with angled light before painting. That extra check can reveal scratches you might otherwise miss.
Top 10 Drywall Sanding Pads for Smooth Finishes

What Drywall Sanding Pads Are and How They Work

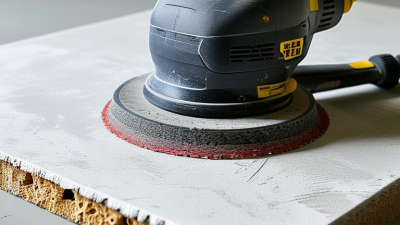
Drywall sanding pads are abrasive faces attached to hand blocks or pole sanders. They remove raised joint compound without cutting deeply into the paper surface. Common designs use coated abrasive sheets or open mesh, backed by foam or a firm plate. The backing helps the pad follow slight surface dips; mesh openings can let dust pass toward an extractor. Small detail, big difference.

Grit controls how quickly a pad cuts. Coarser abrasives level ridges and dried blobs, while finer grades soften scratch marks before primer. Press lightly and move in overlapping circles or long, even strokes. Heavy pressure can leave grooves, tear paper, or make a patch look polished in one spot and rough nearby. A finer pad is not always better; it may clog or burnish compound instead of removing it. Check the surface with a work light held at a shallow angle.

Dust matters. OSHA’s construction silica standard sets an eight-hour permissible exposure limit of 50 micrograms per cubic meter for respirable crystalline silica, with a 25-microgram action level (29 CFR 1926.1153). Not every joint compound contains crystalline silica, so check its safety data sheet. Use suitable dust collection and respiratory protection for the material and task. I still find it easy to miss fine ridges until primer reveals them.
Common Pad Materials, Grits, and Backing Types

Top 10 Drywall Sanding Pads for Smooth Finishes
Common Pad Materials, Grits, and Backing Types

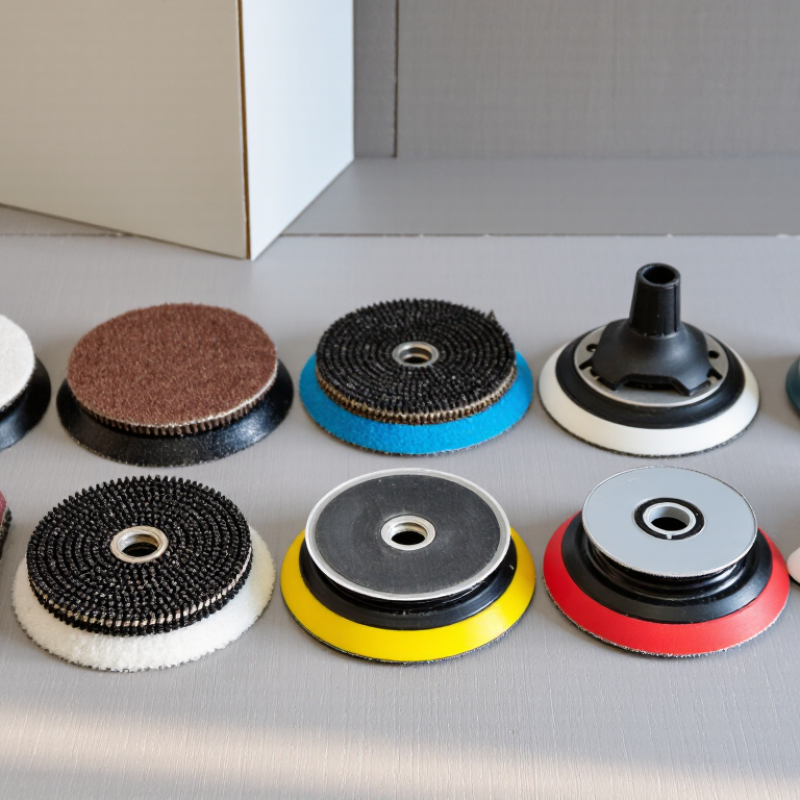
Drywall sanding pads differ in abrasive material, grit, and backing. Coated mesh pads let dust pass through their openings, which can reduce clogging when paired with dust collection. Paper-backed abrasive sheets are simple to cut and fit hand blocks. Foam-backed pads flex around corners and uneven patches, though they may wear faster under firm pressure. Common abrasive grains include aluminum oxide, a durable general-purpose option, and silicon carbide, often used for finer finishing.

Grit choice matters. An 80- or 100-grit pad can level rough compound, but aggressive sanding may tear the drywall face paper. A 120- to 150-grit pad usually suits smoothing dried joint compound. For a light final pass, 180- or 220-grit can soften small ridges. Check the surface under angled light; a wall can look smooth head-on and still show seams from the side. Not every wall needs the same sequence.

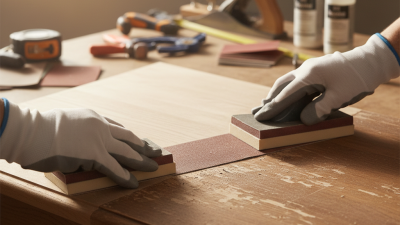
Tips: Use light, even strokes and keep the pad flat across joints. A hand block helps control pressure, while a flexible pad can reach curved areas. Dust tells you. If the abrasive clogs or leaves deep scratches, stop and inspect your pressure, grit, and compound dryness. A finer pad is not always the fix.

Top 10 Drywall Sanding Pads for Smooth Finishes - Common Pad Materials, Grits, and Backing Types

Rank Pad Type Abrasive Material Typical Grit Backing Type Best Use Practical Notes
1 Fine open-mesh sanding screen Aluminum oxide 180–220 Open woven mesh Final smoothing of joint compound before priming Open construction lets dust pass through the screen and can help reduce clogging.
2 Medium open-mesh sanding screen Aluminum oxide 120–150 Open woven mesh General sanding of dried joint compound and taped seams A useful balance of material removal and surface control for routine drywall work.
3 Coarse open-mesh sanding screen Aluminum oxide 80–100 Open woven mesh Knocking down pronounced ridges or heavy compound buildup Use a light touch; coarse abrasives can scratch paper facing or remove too much compound.
4 Fine sanding sponge Aluminum oxide or silicon carbide 180–220 Flexible foam Inside corners, edges, and small repairs The conformable shape helps reach angles and curved areas; many sponges can be rinsed if specified by the manufacturer.
5 Medium sanding sponge Aluminum oxide or silicon carbide 100–150 Flexible foam Hand sanding seams, patches, and irregular surfaces Foam backing distributes pressure and is easier to control than a rigid block on uneven areas.
6 Fine abrasive paper pad Aluminum oxide 180–220 Paper, often hook-and-loop or clamp-on Finishing broad, flat areas with a hand block or sanding tool Provides a consistent abrasive surface; paper can load with compound, so replace it when clogged or worn.
7 Medium abrasive paper pad Aluminum oxide 120–150 Paper, often hook-and-loop or clamp-on Leveling dried compound on flat seams and patches Suitable for controlled stock removal before a finer finishing pass.
8 Fine vacuum-compatible sanding pad Aluminum oxide 180–220 Perforated paper or mesh with hook-and-loop attachment Fine sanding with a compatible dust-extraction tool Dust collection depends on matching the pad perforations, tool, and extraction system.
9 Medium vacuum-compatible sanding pad Aluminum oxide 120–150 Perforated paper or mesh with hook-and-loop attachment Removing compound ridges while using a compatible dust-extraction setup Keep extraction passages clear and use appropriate respiratory protection; dust collection does not eliminate airborne dust.
10 Fine detail sanding pad Silicon carbide or aluminum oxide 220 Foam, flexible film, or fine abrasive sheet Light touch-ups on small areas and edges before priming Best for minor imperfections; avoid sanding through the drywall paper facing.

How to Choose a Pad for Your Drywall Project

Top 10 Drywall Sanding Pads for Smooth Finishes

How to Choose a Pad for Your Drywall Project

Choose a pad by the surface, sanding stage, and tool—not by grit alone. For broad, flat seams, a rectangular hand pad helps keep pressure even. A pole-mounted pad reaches ceilings without forcing your shoulders upward. For inside corners, a narrow or angled pad offers better control. Check that its backing fits your sander and holds abrasive sheets securely. Small detail, big difference.

Start with medium grit, around 120 to 150, to smooth ridges and joint-compound edges. Move to 180 or 220 for a lighter finish before priming. Press gently; heavy pressure can gouge soft compound and leave visible dips. Finer pads may clog faster, especially on incompletely dried mud. That part is easy to overlook. Let the surface dry fully, and replace a loaded abrasive rather than pushing harder.

Dust matters, too. OSHA’s construction silica standard sets an eight-hour permissible exposure limit of 50 micrograms per cubic meter and an action level of 25 micrograms. Some compounds may contain crystalline silica, so check the product safety sheet and use effective dust controls. A pad alone cannot control airborne dust. NIOSH guidance on drywall sanding also supports using source-capture methods, such as vacuum-assisted sanding. The right choice balances finish quality, access, and dust management; no single grit or pad suits every wall.

Top 10 Drywall Sanding Pads for Smooth Finishes

Choosing among the top 10 drywall sanding pads means matching the pad to the surface and task. A sanding screen clears dust well and suits broad seams. A paper-backed pad can leave a more even finish, while a sanding sponge reaches inside corners. Pole-mounted pads reduce overhead strain on ceilings. Hand pads offer better control near outlets and trim. Detail pads help with narrow patches; flexible foam pads follow slight curves. Coarse grits remove ridges quickly, but they can gouge soft joint compound. Fine grits refine the surface before paint. The best choice depends on the repair, not the ranking alone.

Tips: Start with 120- or 150-grit for raised compound, then switch to 180- or 220-grit for finishing. Use light pressure. Check your work with a lamp held sideways; angled light reveals scratches and shallow dips. Wear eye protection and a suitable dust mask, and keep the work area ventilated.

A practical test is to sand a small patch and inspect it before continuing. If the pad clogs, tap or clean it as its instructions allow. Don’t press harder to compensate; that often creates low spots. I’ve found that even careful sanding can leave a faint edge, especially where a patch meets old paint. It’s worth pausing to inspect the wall from several angles, though that step is easy to skip when the dust is flying.

How to Use and Maintain Drywall Sanding Pads Safely

Before using a drywall sanding pad, check that its abrasive surface is secure and suitable for the joint compound. Wear sealed goggles and a well-fitting respirator rated for fine particles. Dust travels. Open a window or use dust extraction where practical, and keep other people away from the work area. Use a stable platform rather than stretching from a ladder. Move the pad in broad, even strokes, applying only light pressure. Pressing harder can gouge soft compound and leave extra repair work. Keep it steady. Check the surface with a work light held at a shallow angle; ridges and scratches become easier to spot.

After sanding, let dust settle before cleaning, and avoid blowing it into the room. Remove the abrasive sheet and tap loose dust into a lined bin. Follow the pad’s care instructions; some components can be wiped, while others should stay dry. Inspect the frame, handle, and fasteners for cracks or looseness before the next use. Replace worn or clogged abrasive rather than forcing it across the wall. It is tempting to keep sanding until every mark disappears, but excessive sanding can expose tape or damage the paper face. Pause, wipe a small area, and inspect it under angled light before continuing.

Common Drywall Sanding Grits for Smooth Finishes

How to use: Coarser abrasives can remove high spots faster, while finer grits are generally used for final smoothing. Choose the grit suited to the compound and surface, and sand gently to avoid damaging the drywall paper. Grit numbers are designations—not a linear measure of particle size or sanding performance. Wear eye protection and a well-fitting dust mask or respirator, and keep the work area ventilated.