Ultimate Tile Drill Tips for Perfect Holes Every Time?
When it comes to home improvement, achieving precise results is crucial. The right tools can make a significant difference, especially when working with hard materials like tiles. Recent industry reports indicate that nearly 70% of DIY enthusiasts struggle with tile drilling, leading to uneven holes and frustrating results. This emphasizes the importance of mastering the art of tile drill techniques.
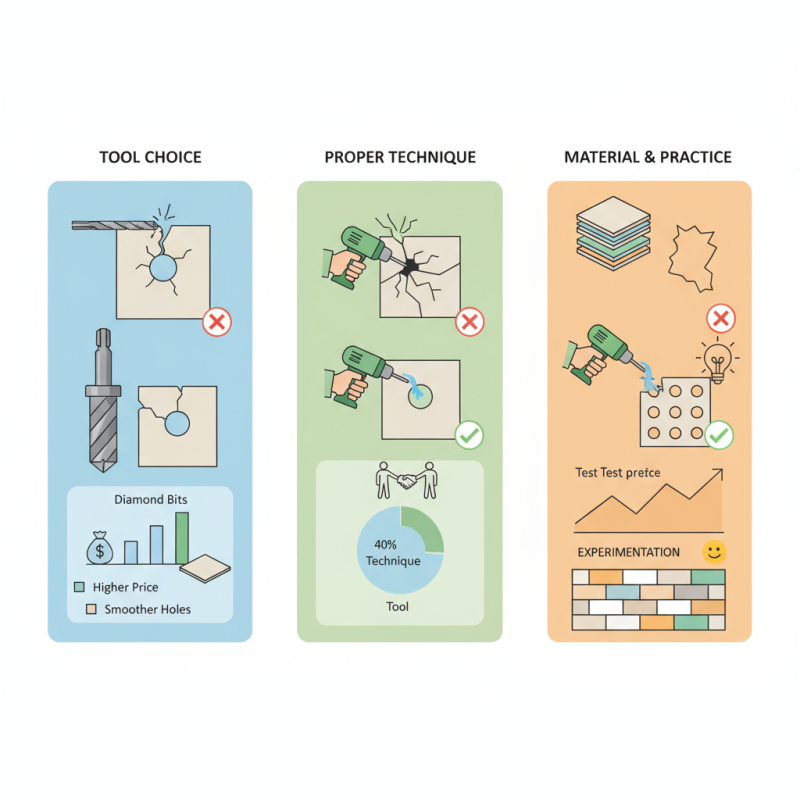
Tile drill choices vary widely, from regular bits to specialized diamond core drills. Each type has its strengths and weaknesses. For instance, while diamond bits ensure smoother holes in ceramic tiles, they often come with a higher price tag. Proper technique is equally essential; improper pressure can lead to cracks and damage, creating costly setbacks. Interestingly, a survey revealed that over 40% of professionals consider drilling technique as critical as the tool itself.
Exploring key insights into tile drilling can enhance your projects significantly. Understanding how to adjust your technique based on tile material is vital. Many novices forget to account for tile thickness or substrate variations, resulting in errors. Arm yourself with knowledge, and don’t underestimate the value of experimentation. Perfecting your tile drill strategy can transform your results, leading to beautifully finished projects you can be proud of.
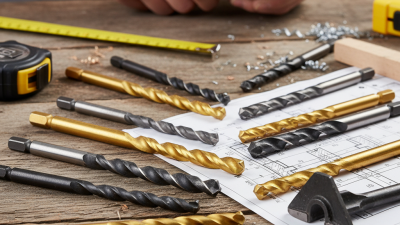
Essential Tools for Successful Tile Drilling
When it comes to tile drilling, having the right tools is crucial. The efficiency and quality of your work can hinge on these essentials. For example, diamond-tipped drill bits are favored for their durability. They can handle tough surfaces like porcelain and granite. According to industry studies, using the correct bit can increase hole precision by up to 30%. This can save you time and prevent costly mistakes.
Safety also plays a significant role in tile drilling. Eye protection should not be overlooked. Installing a work surface that absorbs vibrations can help stabilize your drill, reducing the chances of slipping. Over 40% of tile installation errors stem from improper handling techniques. Investing in a high-quality drill and ensuring it is well-maintained can mitigate these risks. Proper techniques and tools make all the difference in achieving perfect holes.
Furthermore, preparation is key. Wet drilling can minimize dust and reduce the friction generated. A simple sponge can help keep the bit cool and extend its lifespan. Remember, even experienced professionals encounter challenges. Taking the time to refine your approach can lead to more successful outcomes. Continuous learning and adapting your methods based on past mistakes is essential in becoming proficient.
Ultimate Tile Drill Tips: Drill Bit Efficiency
This bar chart illustrates the efficiency of different drill bit types used for tile drilling. The data indicates the average number of successful drill holes achieved per bit before replacing it.
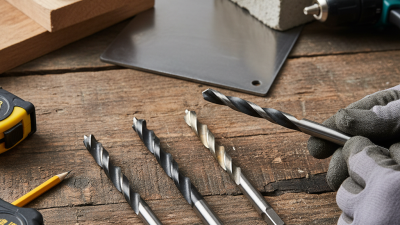
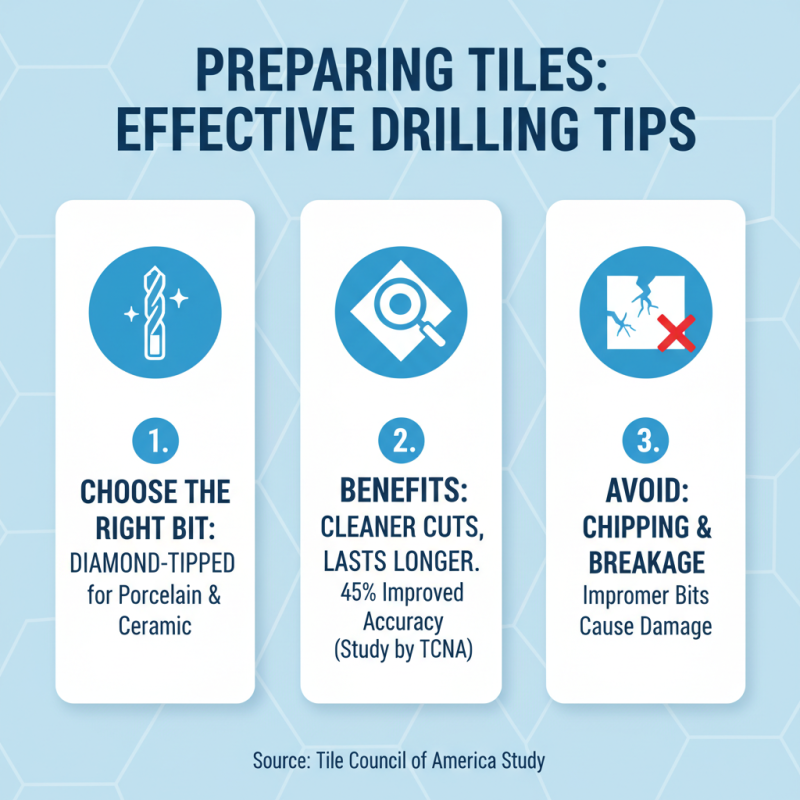
Preparing Tiles: Tips for Effective Drilling
Drilling into tiles requires careful preparation for successful results. Choosing the right bit is crucial. A diamond-tipped bit is often recommended for porcelain and ceramic tiles. Research shows that these bits last longer and provide cleaner cuts. According to a study by the Tile Council of North America, 45% of users reported improved drilling accuracy with diamond bits. Without the proper bit, users may face chipping or breakage, which is frustrating.
Before drilling, it’s essential to mark your spot accurately. Use a pencil or a specialized marker. A common mistake is to skip this step. Skipped markings can lead to misplaced holes. It can result in wasted materials and extra costs. A report from the National Tile Contractors Association indicated that 30% of homeowners encounter issues with uneven hole placement due to inadequate marking.
Creating a stable work environment is another key element. Using a piece of masking tape over the drill site can help. This technique prevents the drill from slipping and ensures precision. Cooling the bit with water can also enhance performance. It reduces wear and prevents overheating, which can cause tool damage. Though these tips are effective, some still struggle with inconsistencies in hole size. It’s vital to practice on scrap tiles to build confidence.
Step-by-Step Guide to Drilling Perfect Holes
Drilling tiles can be tricky, but a step-by-step approach reveals the secrets to perfect holes. Begin by gathering the right tools. A quality diamond drill bit and a variable speed drill are essential. Protect your work surface with a towel or cloth. This prevents slipping and keeps fragments contained.
Before you start, mark your hole's center with a pencil. A small piece of tape can help keep the drill steady. When you begin, apply light pressure. Too much force may crack the tile. It’s okay to pause and reassess your technique, especially if the tile is difficult to drill. Safety goggles are a must for protection.
Tips for success include using water to cool the drill bit. This reduces heat and friction. Additionally, starting with a slower speed allows for better control. If you notice cracking or chipping, take a moment to adjust your technique. Reflecting on each attempt helps refine your skills, leading to better results over time. Always be mindful of your surroundings while drilling.
Common Mistakes to Avoid When Drilling Tiles
When drilling tiles, many common mistakes can lead to unsightly results. One frequent error is applying too much pressure.
This can crack the tile surface, leading to irreversible damage. Instead, use a light, steady pressure to allow the drill bit to work effectively.
Tip: Always secure your tile firmly before starting. A stable surface helps maintain accuracy and prevents the tile from moving during the drilling process.
Another mistake is using the wrong drill bit. A standard metal drill bit won't work well on tile. Instead, invest in a specialized tile bit designed for this purpose. These bits are crafted to handle the hardness of tile material.
Tip: Keep the drill bit cool. If it overheats, it can dull quickly or break. Use water to lubricate the bit and minimize heating while drilling.
Lastly, avoid rushing through the process. Take time to mark the drilling point clearly. Without proper alignment, you risk drilling holes in the wrong spots, leading to frustration and wasted tiles.
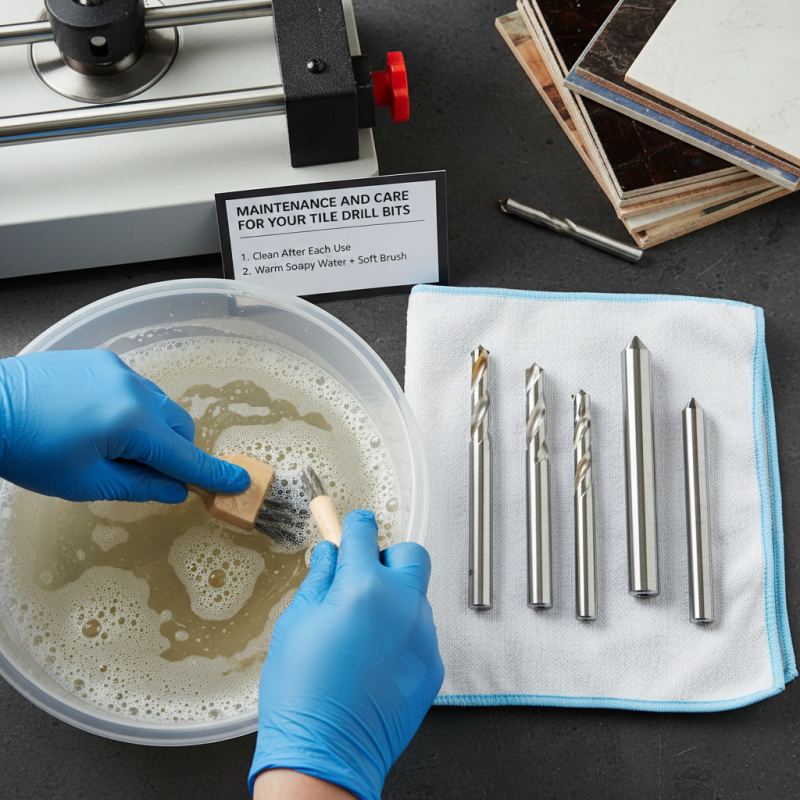
Maintenance and Care for Your Tile Drill Bits
Maintaining and caring for your tile drill bits can greatly enhance their performance and lifespan. Regular upkeep is essential to ensure perfect holes every time. Keep your bits clean after each use. Dust, adhesives, or tile fragments can hinder efficiency. Submerging them in warm soapy water and gently scrubbing with a soft brush works wonders.
Tip: Store your drill bits in a dry place to avoid moisture damage. Rust can ruin their cutting ability. Also, inspect your bits regularly for wear. A dull bit not only affects performance but can lead to errors. If you notice irregularities, it's time to sharpen or replace them.
Another important aspect is to keep the right speed and pressure. Too much pressure can overheat your bits, leading to faster wear. It’s essential to allow the bit to do its job. Take breaks during prolonged drilling to cool them down. This simple step can prevent damage and prolong the life of your investment. Drilling tiles might seem easy, but it requires attention and care for consistent results.